

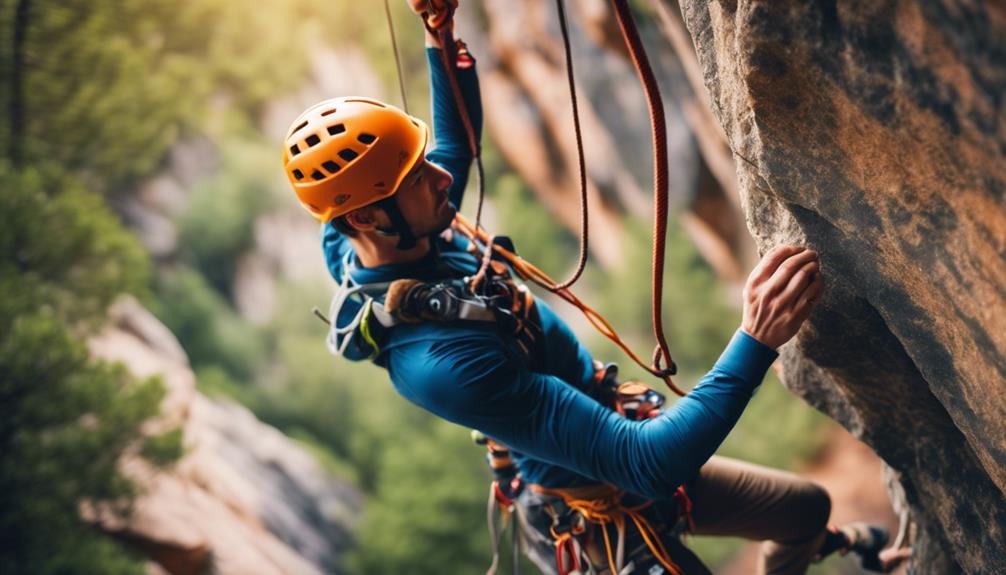
I know that mastering climbing knots and safety techniques is crucial for my adventures in the great outdoors. Each knot, like the figure-eight or bowline, serves a specific purpose that can mean the difference between safety and risk. I make it a habit to inspect my knots and equipment before every climb. Understanding how to tie them correctly not only builds my confidence but also enhances my overall experience. Plus, choosing the right safety harness and rope adds an extra layer of protection. If I stay focused and committed, I'll discover even more valuable skills to boost my climbing proficiency.
Key Takeaways
- Master basic climbing knots like figure-eight and bowline for securing yourself and gear effectively.
- Regularly inspect knots for wear and ensure proper knot tying techniques to maintain safety.
- Choose the right safety harness and rope type based on your climbing style for optimal protection.
- Explore advanced knots such as double fisherman's for complex applications like rappelling and anchor creation.
Importance of Climbing Knots
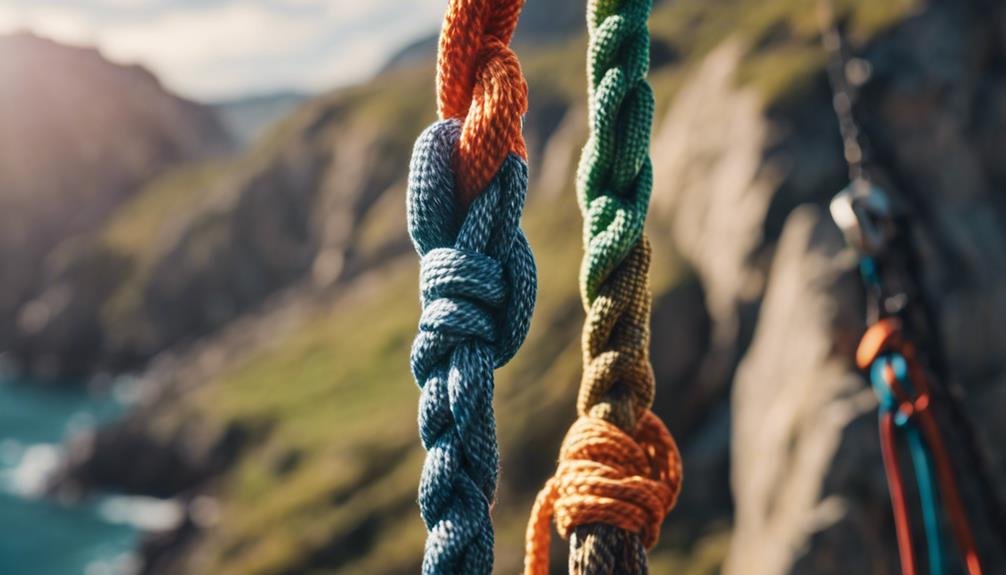
Understanding the importance of climbing knots is crucial for ensuring safety and efficiency while navigating challenging terrains. Knot selection plays a significant role in the success of any climbing adventure. Choosing the right knot can mean the difference between a secure hold and a dangerous slip. Each knot has its specific purpose, and knowing when to use them is key to maintaining that sense of freedom we all crave outdoors.
Equally important are knot inspection procedures. Before I embark on a climb, I always inspect my knots meticulously. A simple visual check can reveal wear, fraying, or improper tying that could jeopardize my safety. Developing a routine for inspecting knots before every use is vital. This practice not only ensures my safety but also builds my confidence in the gear I'm using.
Basic Climbing Knots

When I think about basic climbing knots, I realize they're essential for any climber's toolkit.
I'll go over the different types of knots, share effective tying techniques, and highlight crucial safety considerations.
Understanding these aspects not only boosts my skills but also keeps me safe on the rock face.
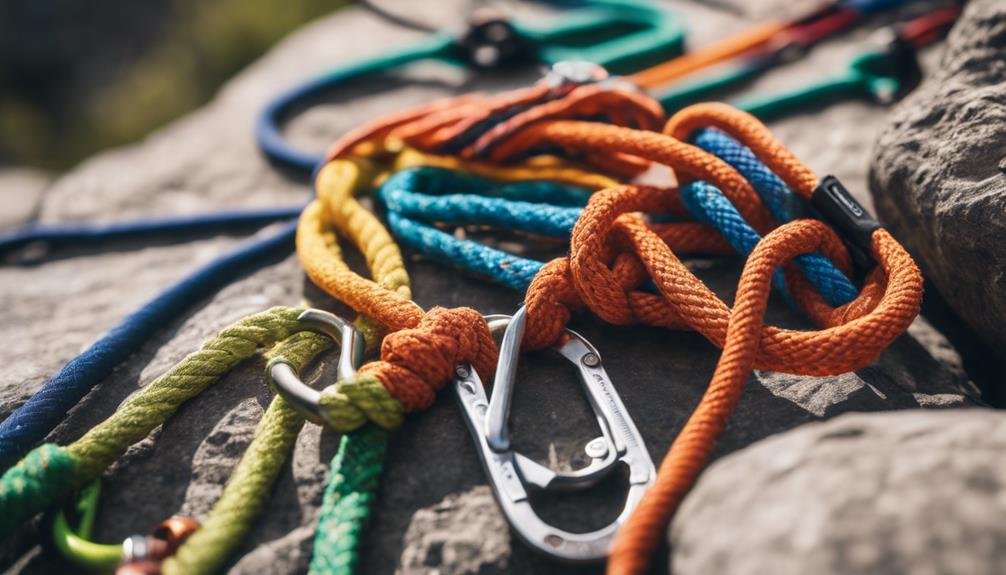
Types of Climbing Knots
Mastering basic climbing knots is essential for anyone looking to enhance their safety and efficiency while scaling the great outdoors. Knowing the right knots can make all the difference, whether I'm securing myself to a belay or anchoring gear.
- Figure Eight Knot: This static knot is perfect for tying into the harness, providing a secure connection that I can trust.
- Bowline Knot: A versatile dynamic knot, great for creating a fixed loop at the end of a rope. It's easy to untie even after bearing weight.
- Clove Hitch: Ideal for securing a rope to an anchor point. It's adjustable, which I find handy when I need to make quick changes.
- Double Fisherman's Knot: This static knot excels in joining two ropes together, ensuring I can tackle longer climbs without worrying about my gear.
Understanding these knots not only boosts my confidence but also enhances my climbing experience. So, let's get out there and embrace the freedom of the mountains with the right knots!
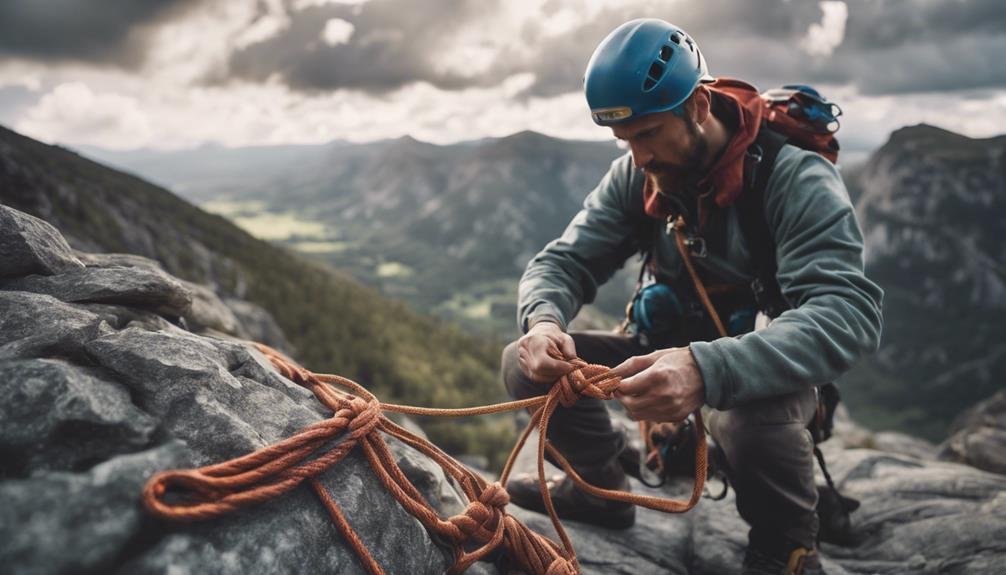
Knot Tying Techniques
To effectively tie basic climbing knots, I focus on a few key techniques that ensure my knots are secure and reliable.
First, I prioritize knot selection based on the climbing scenario. Each knot serves a unique purpose, whether it's securing a harness or tying off gear. I often rely on the figure-eight knot for its strength and ease of untangling.
Next, I pay close attention to the way I dress my knots. Ensuring all parts are aligned and snug helps maintain their integrity.
I've learned that proper knot maintenance is crucial, so I frequently inspect my knots before and after climbs. If I notice any wear or slippage, I redo them immediately.
Knot Safety Considerations
Understanding knot safety considerations is essential for any climber, as a single mistake can lead to serious consequences. I've learned that it's not just about how you tie the knot but also about recognizing the various factors that can affect its integrity.
Regularly inspect knots for signs of wear and tear. Abrasion from rock surfaces or gear can weaken them significantly.
Be aware of the conditions you're climbing in. UV exposure from the sun can degrade rope fibers over time, making knots less secure.
Before relying on a knot, I always ensure it can hold the intended weight. A poorly tied knot or one that's been compromised won't hold when it counts.
I make it a habit to practice tying knots regularly and review safety protocols with climbing partners. This keeps my skills sharp and reinforces good habits.
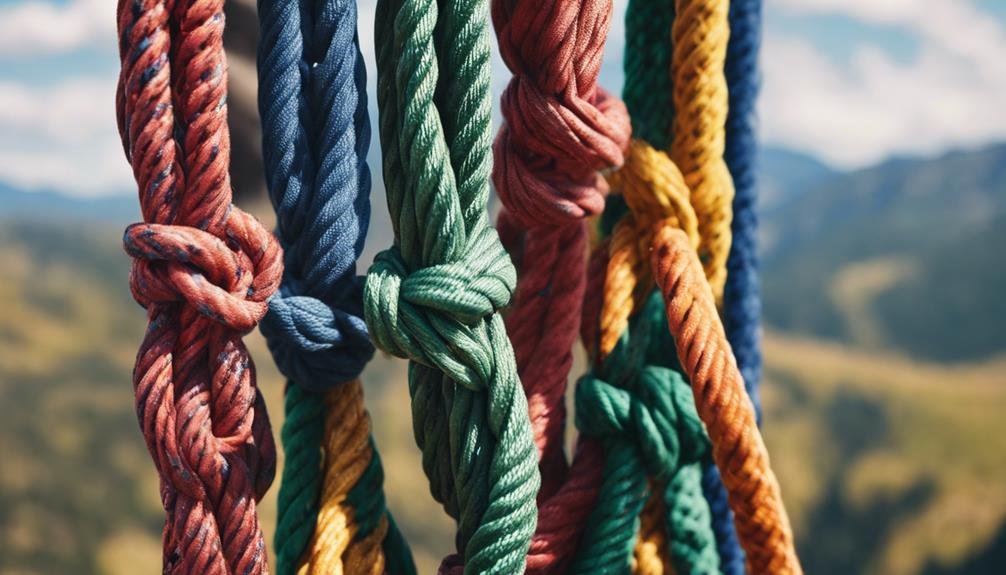
Advanced Climbing Knots
Exploring advanced climbing knots opens up a world of enhanced safety and efficiency for any climber looking to tackle more complex challenges. I've found that mastering advanced knot construction not only boosts my confidence but also my overall climbing experience. With these knots, I can secure myself and my gear in ways that are both reliable and innovative.
One of my favorites is the double fisherman's knot, perfect for joining two ropes. It's simple yet incredibly strong, making it ideal for intricate knot applications like rappelling or creating anchors.
The bowline knot, on the other hand, is a classic that forms a fixed loop at the end of a rope. It's quick to untie, even after a heavy load, which is a game-changer in a high-stakes environment.
As I continue to explore these advanced knots, I feel more empowered to push my limits on the rock face. Each knot I master opens up new possibilities for adventure, allowing me to embrace the freedom that climbing offers.
Knot Tying Techniques
Mastering effective knot tying techniques is essential for every climber, as it directly impacts both safety and efficiency on the rock face. I've found that understanding various knot tying patterns can make a significant difference in how secure I feel when scaling heights.
Start with fundamental knots like the Bowline and Figure Eight. These are the backbone of climbing.
Repetition is key. I set aside time to practice different knots until I can tie them with my eyes closed.
Incorporate techniques like double tying or adding a safety backup knot. These methods enhance security and prevent slippage.
When I'm on the rock face, I mentally visualize each knot's purpose and structure. This reinforces my confidence and ensures I tie them correctly.
Safety Harnesses and Ropes
When it comes to climbing, choosing the right safety harness and rope is crucial for my protection.
I've learned that understanding the different types of harnesses and how to properly fit them can make all the difference in my climbing experience.
Knowing how to select the right rope ensures I stay safe while tackling various challenges.
Types of Safety Harnesses
Understanding the various types of safety harnesses is crucial for ensuring my safety and performance while climbing. Each type of harness offers distinct features, and knowing how to choose the right one can make a big difference in harness comfort and harness adjustment.
Full-Body Harness: This offers the most support and is perfect for kids or those working at heights. It distributes weight evenly to prevent injury during falls.
Seat Harness: Commonly used in rock climbing, it's lightweight and allows for a good range of motion. It's essential to adjust it properly for comfort and security.
Chest Harness: Often used in conjunction with a seat harness, it helps keep me upright during a fall, especially in rescue situations.
Industrial Harness: Designed for workers in construction or industrial settings, this type is built to withstand tough conditions and is highly adjustable for comfort.
Choosing the right harness not only enhances my climbing experience but also keeps me safe, allowing me to focus on the freedom of movement.
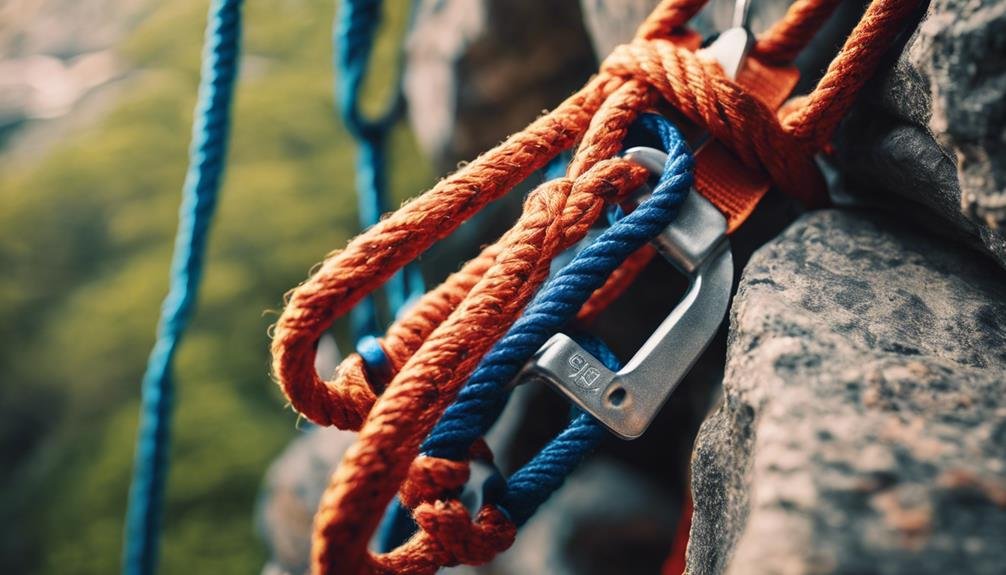
Rope Selection Guidelines
Choosing the right rope is just as important as selecting the appropriate harness, as both work together to ensure my safety and performance while climbing. When I pick a rope, I consider its type, diameter, and length, depending on the climbing style I'm pursuing. Dynamic ropes are a must for falls, while static ropes shine in situations like rappelling or hauling gear.
Rope maintenance is crucial; I regularly inspect my rope for any signs of wear or damage. If I notice fraying or other issues, I know it's time to retire it. Cleaning my rope after muddy or dirty climbs helps prolong its life, keeping it safe for future adventures.
Proper rope storage is equally important. I always store my rope in a cool, dry place, away from direct sunlight and sharp objects. Using a rope bag not only keeps it organized but also prevents tangles, making it easier to deploy when I'm ready to climb.
Proper Harness Fitting
Fitting my harness correctly is essential for ensuring both comfort and safety while I'm climbing. A well-fitted harness can make all the difference, allowing me to focus on the climb rather than discomfort.
- Choose the Right Size: I start by selecting a harness that fits my body type. Manufacturers often have size charts, so I measure my waist and legs accurately.
- Adjust the Leg Loops: I make sure the leg loops are snug but not too tight. I want to avoid pinching while still keeping my harness secure.
- Tighten the Waist Belt: I pull the waist belt snug against my hips, ensuring it sits comfortably on my waist without riding up or slipping down.
- Check for Excess Webbing: Finally, I trim any excess webbing or tuck it away neatly. This prevents snagging or tripping hazards while I'm climbing.
Belaying Techniques
When I belay, I focus on maintaining a smooth, controlled rope tension to ensure my climber's safety and confidence as they ascend. It's crucial to understand the difference between lead climbing belays and top rope belays. When I'm belaying a lead climber, I'm constantly attentive to the rope's slack, ready to take in or give out line as needed. I also ensure I'm anchored securely and positioned correctly to react quickly if my climber falls.
Incorporating backup belay techniques is another essential skill. I always make sure there's a secondary belayer present when tackling challenging routes or while teaching beginners. This extra layer of safety provides peace of mind, knowing that support is just a shout away.
I prefer using a belay device that allows for smooth feeding of the rope while still offering braking power. Practicing these techniques regularly keeps my reflexes sharp.
Communication in Climbing
When I'm climbing, clear communication is crucial for safety and success.
I rely on both verbal cues and non-verbal signals to coordinate with my partner effectively.
Verbal Cues Importance
Effective communication through verbal cues is essential for ensuring safety and coordination while climbing with a partner. When I'm out on the rock face, I rely on clear communication to keep both of us safe and connected.
- 'On belay' – This confirms that I'm ready to catch my partner when they start climbing.
- 'Climbing' – I use this cue to signal that I'm starting my ascent, prompting my partner to pay attention.
- 'Take' – When I say this, it's a request for my partner to take in slack, ensuring I'm secure before I make any moves.
- 'Fall' – This is crucial if I lose my grip; it alerts my partner to prepare for a sudden drop.
Using these cues allows for proper feedback and minimizes miscommunication. Each shout or call helps us anticipate actions, making the climb smoother and safer. Embracing these verbal cues not only fosters trust but also enhances our experience, giving us the freedom to explore the heights together without unnecessary worry.
Non-Verbal Signals Awareness
Non-verbal signals play a crucial role in climbing, allowing me to communicate vital information to my partner without disrupting our focus. Using body language interpretation, I can convey messages about my intentions, whether I'm ready to climb, need a moment, or require a safety check. This clarity helps maintain a smooth flow, especially in challenging situations.
Hand signal usage is another practical aspect of our communication. A simple thumbs-up can indicate "all good," while a raised hand can signal a pause. These gestures eliminate the need for shouting, preserving our energy and concentration for the climb ahead. I've found that establishing a clear set of signals before we start can make all the difference.
Additionally, being aware of my partner's body language is essential. Their stance, facial expressions, and movements can give me insights into how they're feeling—if they're nervous, excited, or fatigued. This awareness helps us work together more effectively.
Ultimately, mastering non-verbal communication enhances our climbing experience, allowing us to connect as a team while enjoying the freedom of the climb.
Team Coordination Strategies
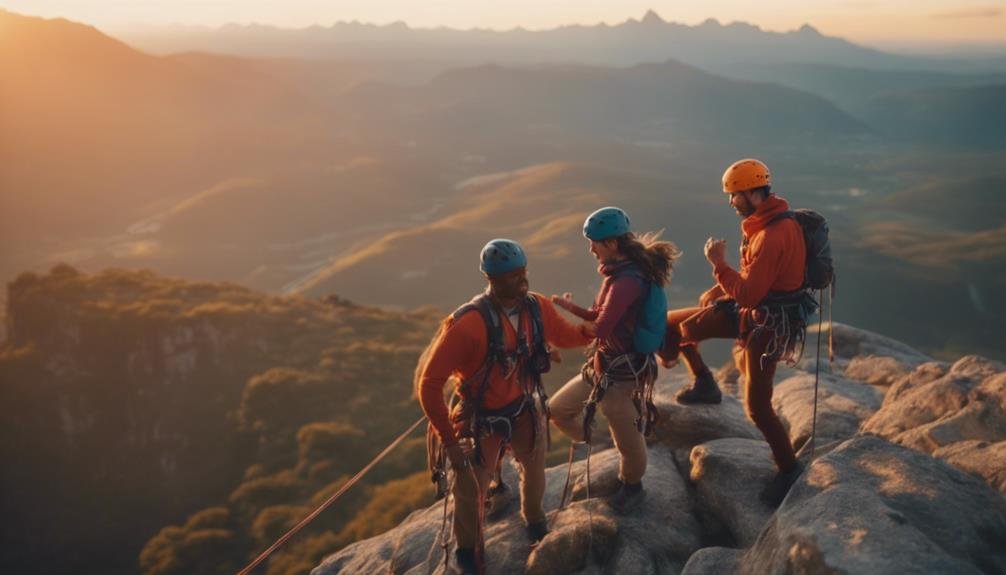
Establishing clear communication channels is essential for successful team coordination in climbing, as it ensures that both partners are on the same page throughout the ascent. Without effective communication, even the most skilled climbers can find themselves in precarious situations.
Define Team Member Roles: Before we start, we need to clarify who's leading and who's belaying. Each person's role is crucial for seamless progress.
Establish Signals: We set up verbal and non-verbal cues for different scenarios. A simple shout or a hand signal can convey important information quickly.
Decision-Making Processes: I always encourage open dialogue about our climbing strategy. If something feels off, we discuss it and make adjustments as needed.
Regular Check-Ins: During the climb, I make it a point to check in with my partner frequently. It helps in maintaining focus and ensures we're both comfortable with our pace and plan.
Risk Assessment Strategies
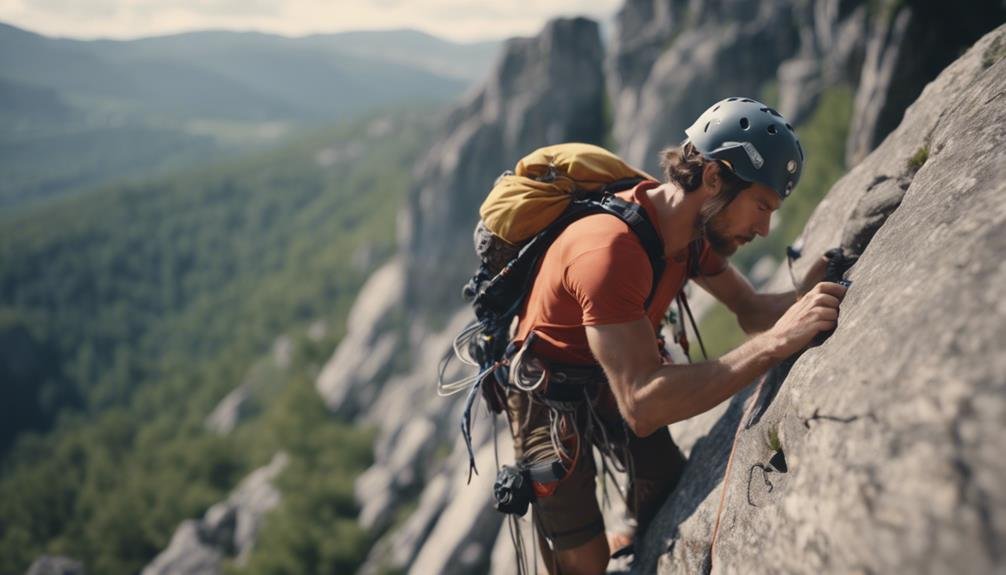
Assessing risks before a climb helps me identify potential hazards and develop strategies to mitigate them effectively. I start by using hazard identification methods, examining the environment for rockfalls, unstable terrain, or weather changes that could impact our safety. This thorough assessment allows me to visualize the challenges ahead.
Once I've pinpointed the hazards, I turn my attention to risk mitigation approaches. I prioritize the most significant risks and create a plan to address them. For instance, if I notice loose rocks, I'll devise a route that avoids those areas, ensuring my team can navigate safely. It's all about being proactive rather than reactive.
I also engage my climbing partners in the process, sharing insights and encouraging them to voice their observations. This collaboration not only strengthens our safety net but also fosters a sense of freedom as we tackle the climb together, confident in our preparations. Ultimately, a robust risk assessment strategy transforms potential dangers into manageable challenges, allowing us to embrace the thrill of climbing while minimizing risks.
Emergency Procedures
Even with thorough risk assessments in place, having clear emergency procedures is vital for ensuring everyone's safety while climbing. I can't stress enough the importance of being prepared for the unexpected.
First Aid Training: I make sure everyone in my climbing group has basic first aid training. This knowledge helps us respond effectively to injuries and can make a life-saving difference.
Emergency Evacuation Plans: I outline specific evacuation routes before we start climbing. Knowing how to get to safety quickly can save precious time in a crisis.
Communication Protocols: I establish clear communication methods, like using radios or hand signals, to ensure everyone stays connected during emergencies.
Regular Drills: We practice emergency scenarios regularly. These drills help us stay calm and organized when real emergencies occur, reinforcing our readiness.
Continuous Learning and Practice

Continuous learning and practice are crucial for honing my climbing skills and ensuring I stay safe on the rock face. I've realized that climbing isn't just about strength; it's about mastering the fundamentals. Through mindful repetition, I focus on the knots and safety techniques that can make or break my climb. By consistently practicing these skills, I build muscle memory and confidence.
I often set aside time each week to revisit basic knots, ensuring they become second nature. This consistent practice allows me to tie my knots quickly and correctly, eliminating distractions when I'm on the wall.
I also seek out opportunities to learn from experienced climbers, whether through workshops or informal climbing sessions. Each interaction sharpens my skills and broadens my understanding of safety techniques.
Climbing is a journey, and I embrace the freedom it offers. As I progress, I remind myself to stay humble and open to new learning experiences. By committing to continuous learning, I not only enhance my climbing abilities but also contribute to a safer climbing community. After all, the more I know, the more freedom I can enjoy on the rock face.
Conclusion
So, there you have it—a crash course in climbing knots and safety techniques that'll keep you from becoming a human kite.
Remember, if you're knot tying skills aren't up to par, you might as well be juggling chainsaws on a unicycle.
Climbing isn't just about reaching the top; it's about not plummeting to a dramatic fate.
Keep practicing, stay safe, and for goodness' sake, let's not turn the mountains into a comedy of errors!