When I head outdoors, I always pack a solid first aid kit with essentials like adhesive bandages, antiseptic wipes, and pain relievers. I know common injuries can happen, so I'm ready to treat cuts, sprains, and insect bites. I've got the R.I.C.E. method on hand for sprains and ice packs for swelling. I also keep aware of the signs of hypothermia and heat exhaustion. Remember, assessing the situation is key. I always stay calm and prepare for emergencies, ensuring I can help until professional help arrives. There's even more to discover about staying safe in the great outdoors.
Key Takeaways
- Carry a well-stocked first aid kit with essential supplies like bandages, antiseptic wipes, and pain relievers for immediate injury treatment.
- Learn and practice the R.I.C.E. method (Rest, Ice, Compression, Elevation) to effectively manage sprains and strains during outdoor activities.
- Familiarize yourself with common outdoor injuries, their symptoms, and appropriate first aid responses, including treatment for insect bites and allergic reactions.
- Stay informed about the weather and terrain to prevent hypothermia and heat exhaustion; dress in layers and maintain hydration.
Essential First Aid Supplies
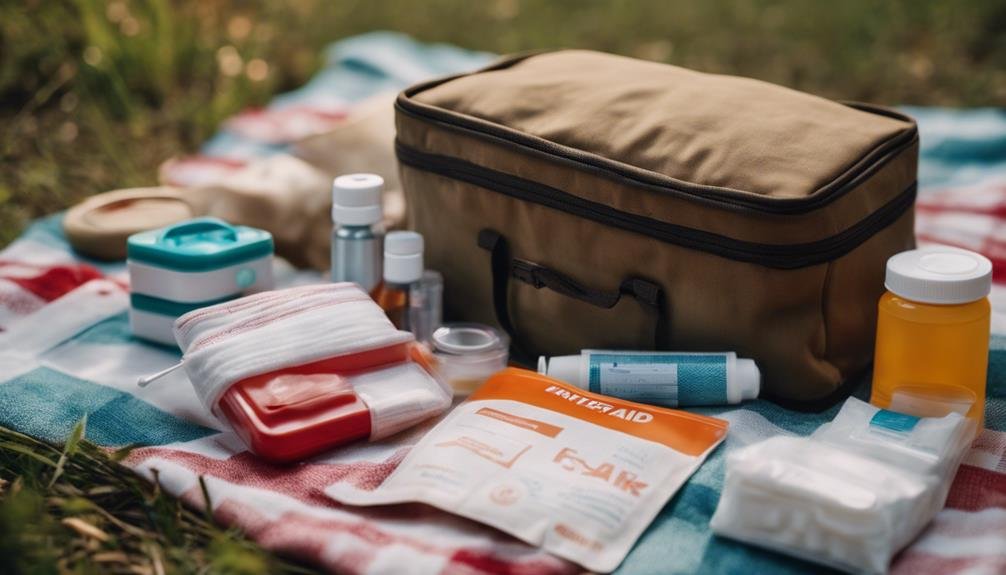
When I head outdoors, I always pack essential first aid supplies to handle any minor injuries or emergencies that might arise. A well-equipped first aid kit is my first priority. I make sure it includes adhesive bandages, antiseptic wipes, gauze pads, adhesive tape, and a pair of scissors. These basics help me address cuts and scrapes efficiently.
I also include pain relievers, such as ibuprofen or acetaminophen, to tackle headaches or muscle soreness. If I'm venturing into remote areas, I add items like a splint or a triangular bandage for immobilizing injuries. It's crucial to ensure my kit is easy to access and organized, so I can find what I need quickly.
Moreover, I believe in the value of CPR training. Knowing how to perform CPR can make a life-or-death difference in emergencies. I always keep a CPR face shield in my kit, ready for any situation where I might need to assist someone in distress.
Being prepared with these essential supplies not only gives me peace of mind but also enhances my freedom to explore the great outdoors confidently.
Common Outdoor Injuries
Packing a first aid kit prepares me for the most common outdoor injuries I might encounter. One of the most frequent issues I face is tick bites. These pesky little critters can carry diseases like Lyme disease, so I always check myself after hiking through tall grass or wooded areas. If I find a tick, I grab my tweezers, grasp it as close to the skin as possible, and pull it out slowly and steadily. I then clean the bite area and keep an eye on it for any signs of infection or rash.
Another common injury is cuts and scrapes, often from rough terrain or branches. I make sure to have antiseptic wipes and adhesive bandages handy, as keeping wounds clean is crucial for preventing infection.
Sprains and strains can also happen, especially if I'm navigating rocky paths. I carry an elastic bandage to wrap any injuries and help stabilize them.
Lastly, sunburn is something I deal with regularly. I've learned to apply sunscreen liberally and often, especially during long days outdoors.
Staying prepared for these injuries ensures that my adventures remain enjoyable and safe.
Assessing the Situation
When I approach a situation, I first evaluate the surrounding environment to understand what I'm dealing with.
Next, I identify any potential hazards that could pose risks to myself or the victim.
Evaluate Surrounding Environment
Assessing the situation around me is crucial before taking any action in an outdoor emergency. I always start by evaluating the terrain conditions. Am I on a steep slope or near a rocky area? Understanding the ground beneath my feet helps me figure out the safest way to approach a injured person or navigate the environment. Any uneven or treacherous terrain can complicate rescue efforts, so I need to tread carefully.
Next, I analyze weather patterns. I check for any signs of changing weather, like darkening clouds or a sudden drop in temperature. If conditions are worsening, I've to act decisively. High winds or rain can make it harder to provide aid, and I need to prepare for potential consequences like hypothermia or dehydration.
Identify Potential Hazards
Identifying potential hazards is essential for ensuring both my safety and that of the injured person during an outdoor emergency. By recognizing environmental dangers and identifying equipment hazards, I can take the necessary steps to mitigate risks.
When assessing the situation, I focus on both the immediate environment and any gear involved. Here's a quick reference table to help me identify potential hazards:
| Hazard Type | Examples |
|---|---|
| Environmental Dangers | Loose rocks, wildlife encounters, weather changes |
| Equipment Hazards | Sharp tools, faulty gear, inadequate first aid supplies |
| Terrain Issues | Slippery surfaces, steep inclines, unstable ground |
| Water Hazards | Fast currents, deep water, submerged obstacles |
| Fire Risks | Dry vegetation, campfire locations, flammable materials |
Determine Victim's Condition
After recognizing potential hazards, I focus on determining the victim's condition to understand the severity of their injuries and how best to respond.
First, I conduct a scene safety assessment to ensure the environment is secure for both me and the victim. I don't want to put myself in harm's way while trying to help.
Next, I perform a vital signs evaluation. I check for responsiveness by gently shaking the victim and asking if they can hear me. If they're conscious, I assess their breathing and pulse. I look for any signs of severe bleeding, such as blood soaking through clothing or pooling on the ground.
While I'm evaluating their condition, I keep an eye on their skin color and temperature, which can indicate shock or other serious issues. If the victim is unresponsive, I call for help immediately and begin CPR if necessary.
Being prepared and knowing how to assess a victim's condition can make all the difference in an emergency. This way, I can provide the right care until professional help arrives, ensuring that freedom to explore the great outdoors doesn't come at a dangerous cost.
Treating Cuts and Scrapes
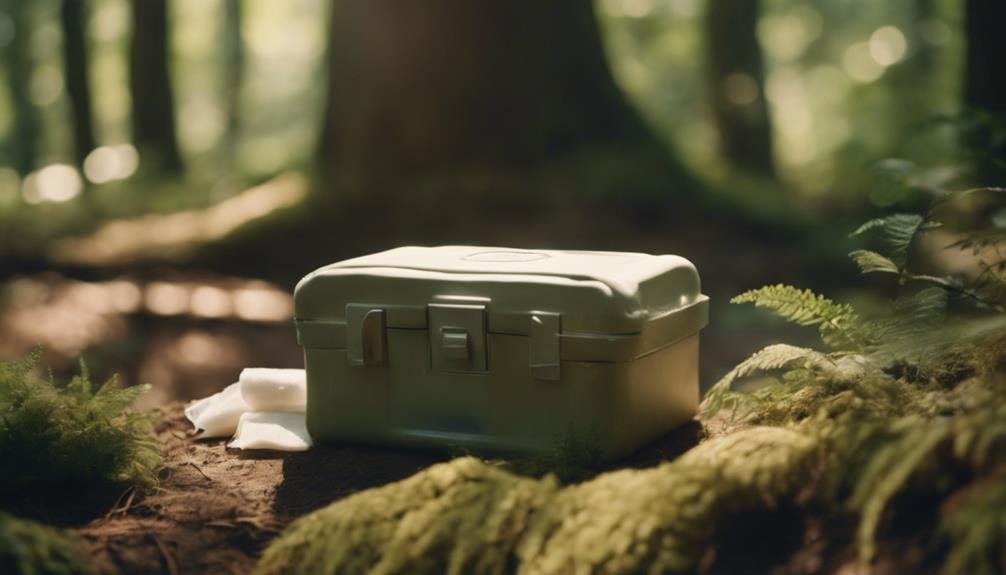
When I treat cuts and scrapes in the outdoors, having the right first aid supplies is crucial.
With these tips, you can manage minor injuries effectively and keep enjoying your adventure.
I'll walk you through a simple step-by-step guide to ensure proper care.
Essential First Aid Supplies
Equipping myself with the right first aid supplies is crucial for effectively treating cuts and scrapes during outdoor adventures. When I venture into the wild, I make sure to pack essential items that allow for proper wound dressing and antibiotic ointment application. Here's a quick overview of the supplies I always include in my first aid kit:
| Supply | Purpose | Quantity |
|---|---|---|
| Adhesive Bandages | For small cuts and scrapes | 10 |
| Sterile Gauze Pads | To cover larger wounds | 5 |
| Medical Tape | To secure gauze pads | 1 roll |
| Antibiotic Ointment | To prevent infection | 1 tube |
| Antiseptic Wipes | For cleaning wounds before dressing | 5 |
Step-by-Step Treatment Guide
To treat cuts and scrapes effectively, I follow a straightforward step-by-step process that ensures proper healing and minimizes the risk of infection.
First, I assess the wound to determine its severity. If it's deep or bleeding profusely, I apply direct pressure with a clean cloth until the bleeding stops.
Next, I gently rinse the cut under clean water to remove dirt and debris, using wilderness survival techniques when necessary, like purifying water if I'm in the backcountry. After cleaning, I pat the area dry with a sterile gauze pad.
Then, I apply an antibiotic ointment to help prevent infection. Once the ointment is on, I cover the wound with a sterile bandage, ensuring it's snug but not too tight.
It's crucial to change the bandage daily or whenever it gets wet or dirty, especially when navigating unknown terrain where hazards abound. Lastly, I keep an eye on the wound for any signs of infection, like increased redness or swelling.
Managing Sprains and Strains
Managing sprains and strains effectively can make a big difference in your outdoor experience and recovery time. When I face a sprain or strain, I rely on the R.I.C.E. method: Rest, Ice, Compression, and Elevation.
First, I stop any activity to prevent further injury and give my body a chance to heal. Next, I apply ice to the affected area for about 20 minutes. This helps reduce swelling and numbs the pain. After that, I use taping techniques to provide support. Proper taping can stabilize the joint, allowing me to move with more confidence while I heal. I always make sure the tape isn't too tight, as circulation is key.
Lastly, I elevate the injured area above my heart when possible. This simple step promotes better blood flow and reduces swelling. I find that taking these proactive measures not only speeds up my recovery but also allows me to get back to enjoying the great outdoors sooner.
Responding to Allergic Reactions

When I encounter someone having an allergic reaction, it's crucial to recognize the symptoms quickly. Identifying signs like hives, swelling, or difficulty breathing can make all the difference.
I'll also share essential emergency response steps to ensure safety in these situations.
Identifying Allergic Symptoms
Recognizing the signs of an allergic reaction is crucial for ensuring quick and effective treatment in outdoor settings. When I'm out enjoying nature, I've learned to be vigilant about identifying allergic symptoms, as they can escalate rapidly. Here's a quick reference table that helps me determine allergy severity:
| Mild Symptoms | Severe Symptoms |
|---|---|
| Itchy eyes | Difficulty breathing |
| Skin rash or hives | Swelling of the face or throat |
| Sneezing or nasal congestion | Rapid heart rate |
When I notice mild symptoms like sneezing or a rash, I know I should monitor the situation closely. However, if I see severe symptoms unfolding, such as difficulty breathing or swelling, I understand it's time to act immediately. By being proactive in identifying allergic symptoms, I can respond appropriately and help myself or others enjoy the freedom of the great outdoors without fear. Remember, it's all about being prepared and knowing how to assess the situation quickly.
Emergency Response Steps
Once I've identified allergic symptoms, knowing the emergency response steps can make all the difference in a critical situation. First, I focus on maintaining calm. Panicking won't help me or the person affected.
I assess the symptoms to determine the severity—are they experiencing hives, swelling, difficulty breathing, or anaphylaxis?
If it's severe, I immediately call for help. I carry a mobile phone during my outdoor adventures, so I can reach emergency services. While waiting for help, I administer an epinephrine auto-injector if the person has one, placing it in their outer thigh and holding it for 10 seconds.
Next, I help the person into a comfortable position, usually sitting up, which can make breathing easier. If they start to show signs of shock, like pale skin or confusion, I lay them down and elevate their legs, ensuring they stay warm.
Throughout the process, I keep talking to them, reassuring them that help is on the way. By staying calm and following these steps, I can effectively respond to an allergic reaction and potentially save a life.
Handling Insect Bites and Stings
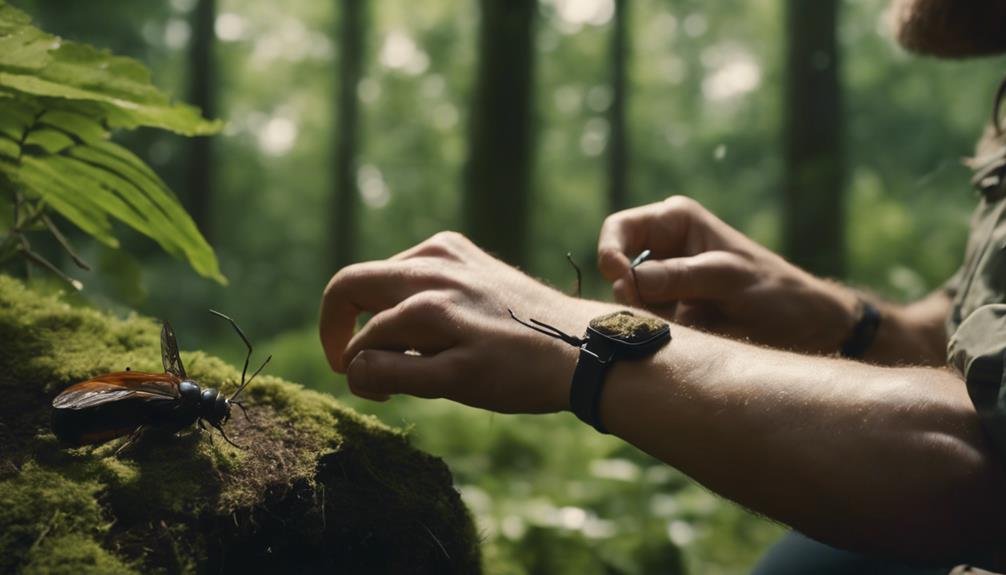
Insect bites and stings can quickly turn a pleasant outdoor adventure into a painful experience, so knowing how to handle them is essential.
- Identify the Insect Species: Quickly determine if it's a bee, wasp, or mosquito. This helps in assessing the severity of the situation.
- Clean the Area: Wash the bite or sting site with soap and water to prevent infection.
- Apply a Cold Compress: Using a cold pack or ice wrapped in a cloth helps reduce swelling and numb the pain.
- Monitor Symptoms: Keep an eye on your reaction. If you experience severe swelling, difficulty breathing, or other concerning symptoms, don't hesitate in seeking medical attention.
Dealing With Burns
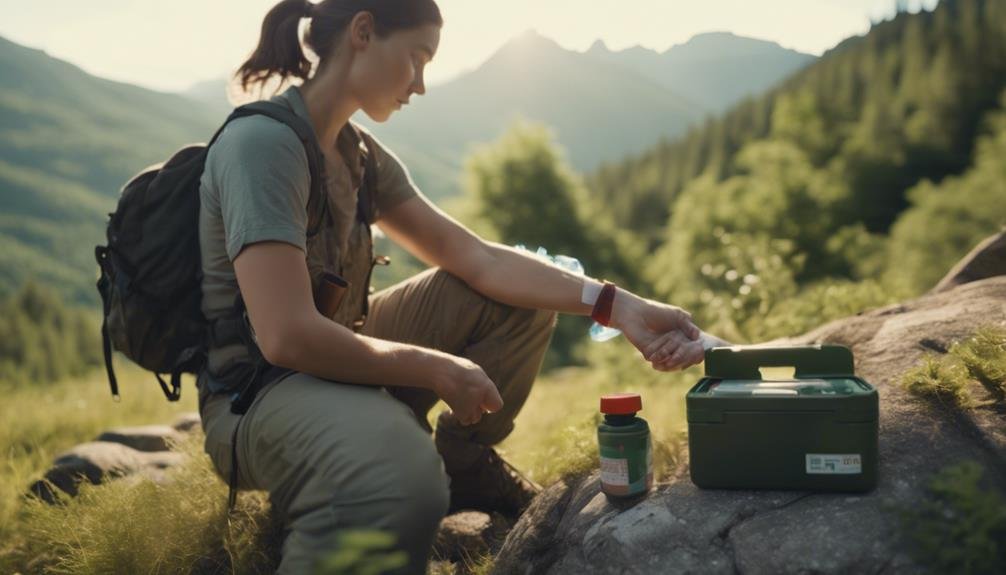
Burns can happen unexpectedly while enjoying outdoor activities, so knowing how to respond quickly is crucial. I've learned that the first step is to cool the burn. Running cool (not cold) water over the affected area for about 10-15 minutes helps reduce pain and damage. After cooling the burn, I often apply aloe vera for its soothing properties. It's great for hydration and can aid in healing.
Here's a quick reference table to help you remember the different types of burns and how to treat them:
| Type of Burn | Treatment |
|---|---|
| First-Degree | Cool water, aloe vera application |
| Second-Degree | Cool water, sterile dressing |
| Third-Degree | Seek medical help immediately |
| Chemical Burn | Rinse with water, seek help |
| Sunburn | Cool compress, aloe vera |
Always keep a first aid kit handy, including aloe vera gel. By being prepared, I can handle burns effectively and keep enjoying my adventures. Remember, prevention is key; wear protective clothing when necessary!
Recognizing Hypothermia and Heat Exhaustion
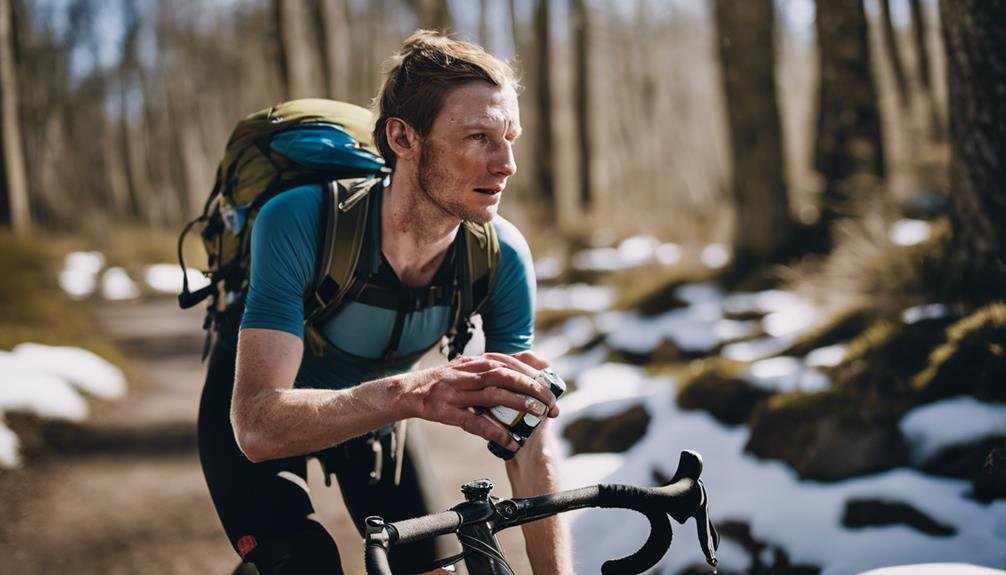
Recognizing the signs of hypothermia and heat exhaustion is essential for staying safe during outdoor activities. When I'm out in nature, I always keep an eye on my body temperature to prevent heat-related illnesses or the chills of hypothermia.
Hypothermia Symptoms: Shivering, confusion, slurred speech, and extreme fatigue.
Heat Exhaustion Symptoms: Heavy sweating, weakness, dizziness, and nausea.
Temperature Management: Dress in layers and monitor the weather to adjust accordingly.
Hydration: Drink water regularly to maintain body temperature, especially in hot conditions.
Emergency Communication Tips
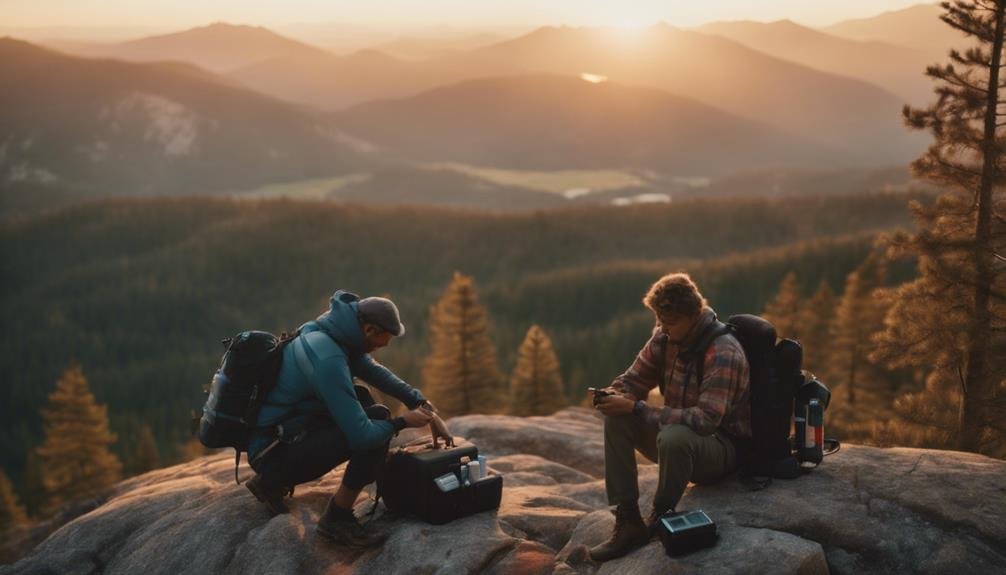
When you're enjoying the great outdoors, having a reliable way to communicate in case of an emergency is just as important as knowing how to recognize heat exhaustion and hypothermia. I always ensure I have a solid communication plan before heading out. Here are some effective options:
| Communication Method | Pros |
|---|---|
| Satellite Phone | Global coverage, reliable even in remote areas. |
| Portable Radio | Lightweight, great for short-range communication. |
| Personal Locator Beacon | Sends distress signals to rescuers, no cell service needed. |
| Two-Way Radios | Ideal for group communication, no need for cellular networks. |
| Emergency Apps | Utilize smartphone GPS, but need a signal. |
Each method has its benefits and limitations. I find satellite phone usage particularly vital when I'm deep in the wilderness. However, if I'm camping with friends, portable radio options are perfect for quick check-ins without the hassle of a satellite device. Always remember, the best plan is the one that fits your adventure, so choose wisely and stay connected!
Conclusion
Being prepared for outdoor emergencies is like carrying an umbrella on a cloudy day; you hope you won't need it, but it's essential when the storm hits.
By equipping myself with the right first aid supplies and knowing how to handle common injuries, I feel more confident in my adventures.
Whether it's a minor scrape or a serious situation, having the skills to respond can make all the difference.
Stay informed, stay prepared, and enjoy the great outdoors safely.
